1.7. RAC用サーバーインスタンスのOSを設定する
1.7.1. ネットワークの設定
以下のコマンドを実行し、ネットワークの設定をします。
# nmcli c m "System eth0" connection.id eth0
# nmcli c m eth0 ipv4.address 192.168.1.31/24
# nmcli c m eth0 ipv4.gateway 192.168.1.254
# nmcli c m eth0 ipv4.dns 8.8.8.8
# nmcli c m eth0 ipv4.method manual
# nmcli c m eth0 connection.autoconnect yes
# nmcli c up eth0

# nmcli c add type ethernet ifname eth1 con-name eth1
# nmcli c m eth1 ipv4.address 192.168.2.31/24
# nmcli c m eth1 ipv4.method manual
# nmcli c m eth1 connection.autoconnect yes
# nmcli c up eth1

# nmcli c add type ethernet ifname eth2 con-name eth2
# nmcli c m eth2 ipv4.address 192.168.3.31/24
# nmcli c m eth2 ipv4.method manual
# nmcli c m eth2 connection.autoconnect yes
# nmcli c m eth2 802-3-ethernet.mtu 9000
# nmcli c up eth2

# nmcli c add type ethernet ifname eth3 con-name eth3
# nmcli c m eth3 ipv4.address 192.168.4.31/24
# nmcli c m eth3 ipv4.method manual
# nmcli c m eth3 connection.autoconnect yes
# nmcli c m eth3 802-3-ethernet.mtu 9000
# nmcli c up eth3
1.7.2. ボリュームの設定
# fdisk /dev/vdb
WARNING: fdisk GPT support is currently new, and therefore in an experimental phase. Use at your own discretion.
Welcome to fdisk (util-linux 2.23.2).

Changes will remain in memory only, until you decide to write them.
Be careful before using the write command.


コマンド (m でヘルプ): p

Disk /dev/vdb: 107.4 GB, 107374182400 bytes, 209715200 sectors
Units = sectors of 1 * 512 = 512 bytes
Sector size (logical/physical): 512 bytes / 512 bytes
I/O サイズ (最小 / 推奨): 512 バイト / 512 バイト
Disk label type: gpt


#         Start          End    Size  Type            Name

コマンド (m でヘルプ): n
パーティション番号 (1-128, default 1): 1
First sector (34-209715166, default 2048):
Last sector, +sectors or +size{K,M,G,T,P} (2048-209715166, default 209715166):
Created partition 1


コマンド (m でヘルプ): w
パーティションテーブルは変更されました!

ioctl() を呼び出してパーティションテーブルを再読込みします。
ディスクを同期しています。
# fdisk /dev/vdb
WARNING: fdisk GPT support is currently new, and therefore in an experimental phase. Use at your own discretion.
Welcome to fdisk (util-linux 2.23.2).

Changes will remain in memory only, until you decide to write them.
Be careful before using the write command.


コマンド (m でヘルプ): p

Disk /dev/vdb: 107.4 GB, 107374182400 bytes, 209715200 sectors
Units = sectors of 1 * 512 = 512 bytes
Sector size (logical/physical): 512 bytes / 512 bytes
I/O サイズ (最小 / 推奨): 512 バイト / 512 バイト
Disk label type: gpt


#         Start          End    Size  Type            Name
1         2048    209715166    100G  Linux filesyste

コマンド (m でヘルプ): q

# mkfs.xfs /dev/vdb1
meta-data=/dev/vdb1              isize=256    agcount=4, agsize=6553535 blks
         =                       sectsz=512   attr=2, projid32bit=1
         =                       crc=0        finobt=0
data     =                       bsize=4096   blocks=26214139, imaxpct=25
         =                       sunit=0      swidth=0 blks
naming   =version 2              bsize=4096   ascii-ci=0 ftype=0
log      =internal log           bsize=4096   blocks=12799, version=2
         =                       sectsz=512   sunit=0 blks, lazy-count=1
realtime =none                   extsz=4096   blocks=0, rtextents=0
以下のコマンドを実行し、初期化したボリュームのマウント設定をします。
# mkdir /u01
# cp -p /etc/fstab /etc/fstab.org

# ls -l /dev/disk/by-uuid/ | grep vdb
...省略...
lrwxrwxrwx 1 root root 10  9月 21 04:42 0a5ebf71-4921-4fd8-9b8e-a117715d5c1f -> ../../vdb
...省略...

# echo "UUID=0a5ebf71-4921-4fd8-9b8e-a117715d5c1f /u01 xfs defaults 0 0" >> /etc/fstab
# mount -a
以下のコマンドを実行し、マウントされていることを確認します。
# df -hT
ファイルシス        タイプ   サイズ  使用  残り 使用% マウント位置
/dev/mapper/ol-root xfs         24G   13G   12G   54% /
devtmpfs            devtmpfs   2.0G     0  2.0G    0% /dev
tmpfs               tmpfs      2.0G     0  2.0G    0% /dev/shm
tmpfs               tmpfs      2.0G  8.7M  2.0G    1% /run
tmpfs               tmpfs      2.0G     0  2.0G    0% /sys/fs/cgroup
/dev/vda1           xfs        497M  143M  355M   29% /boot
/dev/vdb1           xfs        100G   33M  100G    1% /u01
1.7.3. ブロックストレージの設定
以下のコマンドを実行し、iSCSIの設定をします。
# cp -p /etc/iscsi/initiatorname.iscsi /etc/iscsi/initiatorname.iscsi.org
# echo 'InitiatorName=iqn.1988-12.com.oracle:rac1' > /etc/iscsi/initiatorname.iscsi

# cp -p /etc/iscsi/iscsid.conf /etc/iscsi/iscsid.conf.org
# perl -pi -e 's|^(node.session.timeo.replacement_timeout)(.)*|$1 = 5|' /etc/iscsi/iscsid.conf

# iscsiadm -m discovery -t sendtargets -p [ブロックストレージサーバーターゲットIP1] --login
# iscsiadm -m discovery -t sendtargets -p [ブロックストレージサーバーターゲットIP2] --login
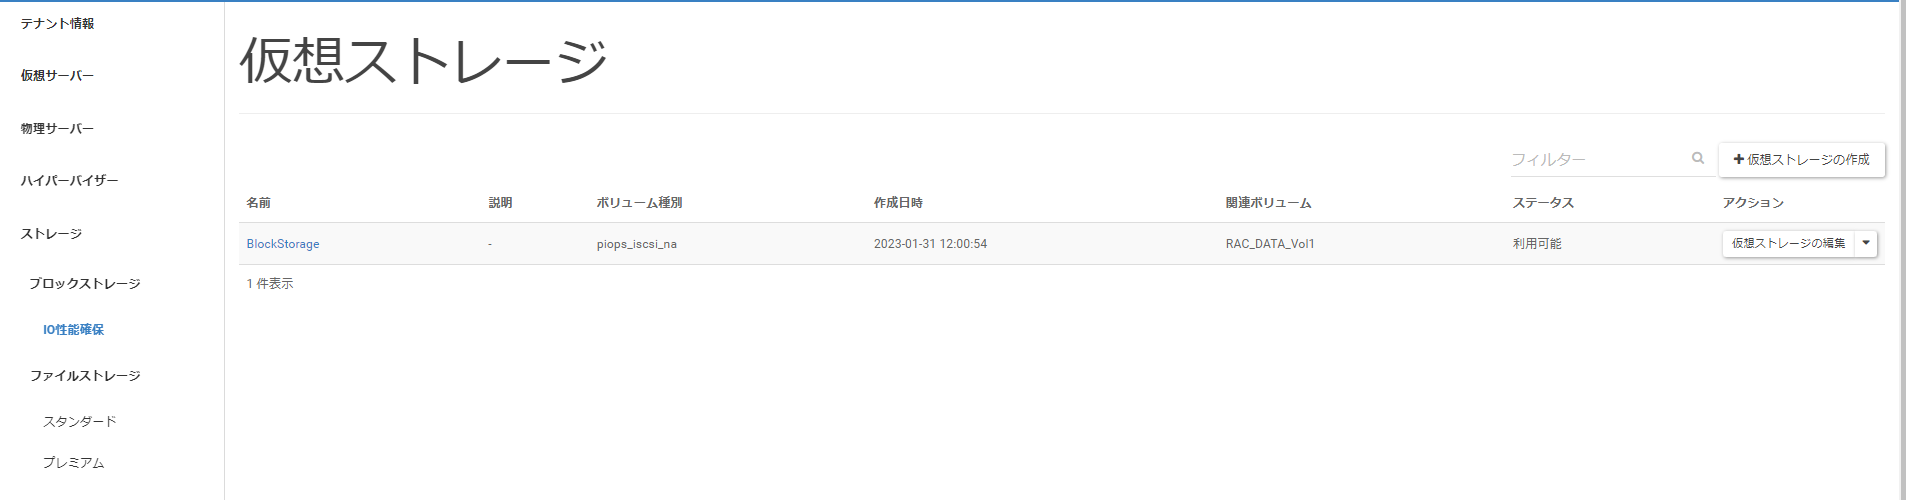
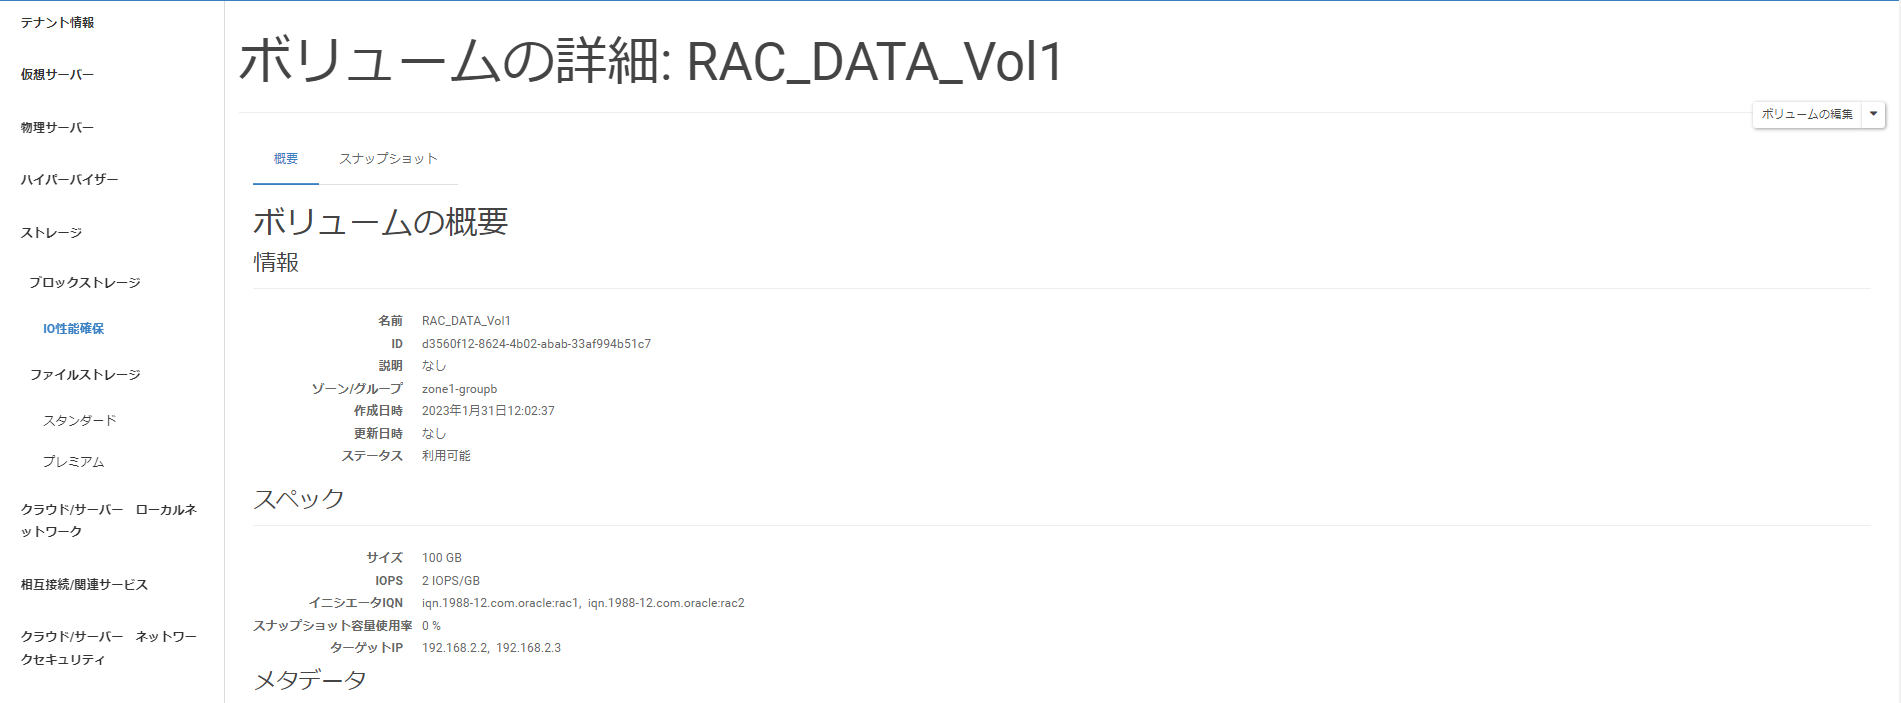
[ボリューム]タブへ遷移後、[RAC_DATA_Vol1]をクリックします。
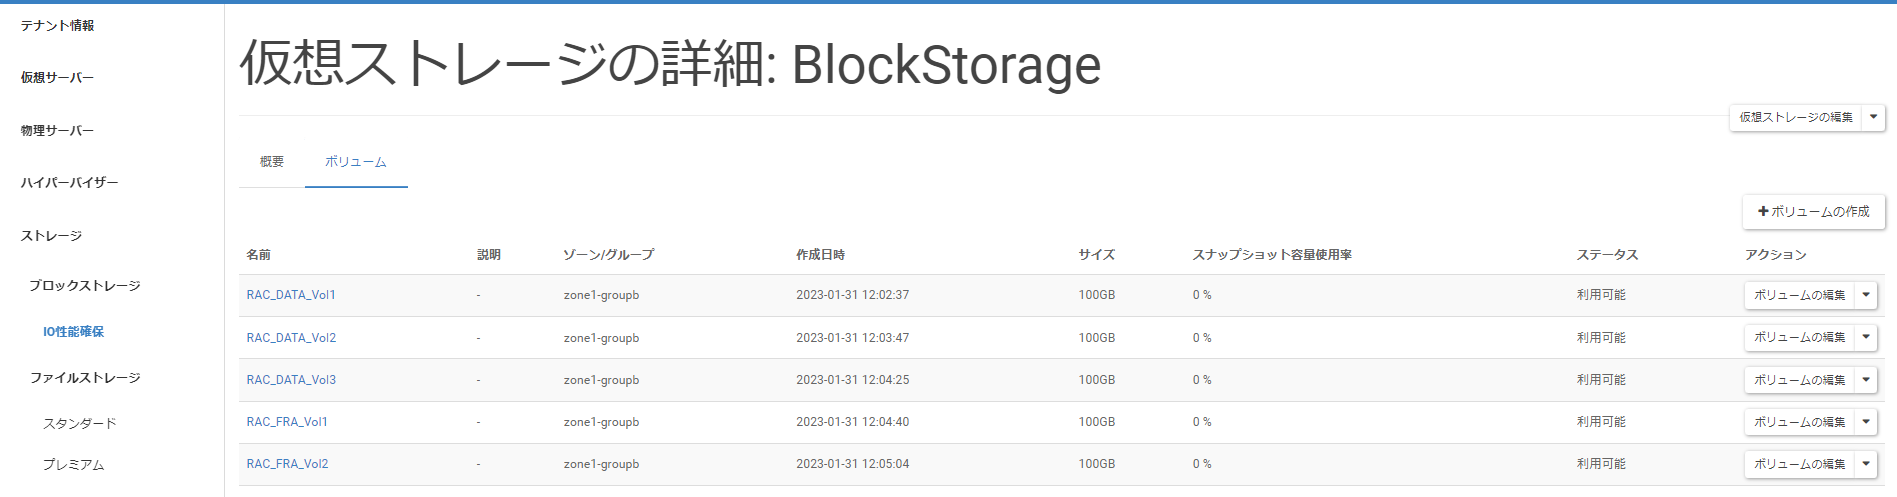
「ボリュームの詳細」画面へ遷移後、[スペック]>「ターゲットIP」に表示されているIPアドレスが、ターゲットIPアドレスになります。
以下のコマンドを実行し、Multipathの設定をします。
# cat << '_EOF_' > /etc/multipath.conf
defaults {
    user_friendly_names   no
    max_fds               max
    flush_on_last_del     yes
    queue_without_daemon  no
    dev_loss_tmo          infinity
    fast_io_fail_tmo      5
}
blacklist {
    devnode "^hd[a-z]"
    devnode "^vd[a-z]"
    devnode "^(ram|zram|raw|loop|fd|md|dm-|sr|scd|st)[0-9]*"
    devnode "^cciss.*"
}
devices {
    device {
        vendor                  "NETAPP"
        product                 "LUN"
        path_grouping_policy    group_by_prio
        features                "3 queue_if_no_path pg_init_retries 50"
        prio                    "alua"
        path_checker            tur
        failback                immediate
        path_selector           "round-robin 0"
        hardware_handler        "1 alua"
        rr_weight               uniform
        rr_min_io               1000
        uid_attribute           "ID_SERIAL"
    }
}
_EOF_

# systemctl restart multipathd
# multipath -ll
3600a098038303652643f4861334f7279 dm-6 NETAPP  ,LUN C-Mode
size=100G features='4 queue_if_no_path pg_init_retries 50 retain_attached_hw_handle' hwhandler='1 alua' wp=rw
|-+- policy='round-robin 0' prio=50 status=active
| `- 3:0:0:2 sde 8:64  active ready running
`-+- policy='round-robin 0' prio=10 status=enabled
  `- 2:0:0:2 sdf 8:80  active ready running
3600a098038303652643f4861334f7278 dm-3 NETAPP  ,LUN C-Mode
size=100G features='4 queue_if_no_path pg_init_retries 50 retain_attached_hw_handle' hwhandler='1 alua' wp=rw
|-+- policy='round-robin 0' prio=50 status=active
| `- 3:0:0:1 sdc 8:32  active ready running
`-+- policy='round-robin 0' prio=10 status=enabled
  `- 2:0:0:1 sdd 8:48  active ready running
3600a098038303652643f4861334f7277 dm-2 NETAPP  ,LUN C-Mode
size=100G features='4 queue_if_no_path pg_init_retries 50 retain_attached_hw_handle' hwhandler='1 alua' wp=rw
|-+- policy='round-robin 0' prio=50 status=active
| `- 3:0:0:0 sda 8:0   active ready running
`-+- policy='round-robin 0' prio=10 status=enabled
  `- 2:0:0:0 sdb 8:16  active ready running
3600a098038303652643f4861334f7330 dm-4 NETAPP  ,LUN C-Mode
size=100G features='4 queue_if_no_path pg_init_retries 50 retain_attached_hw_handle' hwhandler='1 alua' wp=rw
|-+- policy='round-robin 0' prio=50 status=active
| `- 3:0:0:4 sdi 8:128 active ready running
`-+- policy='round-robin 0' prio=10 status=enabled
  `- 2:0:0:4 sdj 8:144 active ready running
3600a098038303652643f4861334f727a dm-5 NETAPP  ,LUN C-Mode
size=100G features='4 queue_if_no_path pg_init_retries 50 retain_attached_hw_handle' hwhandler='1 alua' wp=rw
|-+- policy='round-robin 0' prio=50 status=active
| `- 3:0:0:3 sdg 8:96  active ready running
`-+- policy='round-robin 0' prio=10 status=enabled
  `- 2:0:0:3 sdh 8:112 active ready running
エラーが出力されないこと。
「3600」で始まるエントリーが、あらかじめ作成したブロックストレージボリューム数と一致すること。「3600」で始まるエントリーが1ボリュームに対応します。
表示される容量が、作成されたボリューム容量と一致すること。
「3600」で始まるエントリーに、iSCSIセッション数と同数のsdXXデバイスが含まれること。iSCSIセッション数は以下のコマンドで確認できます。
# iscsiadm -m session | wc -l
「3600」で始まるエントリーに含まれるsdXXデバイスの状態が、「active/ready/running」であること。
「features=」以降の内容にmultipath.confの設定値が反映されていること。
# cat << '_EOF_' >> /etc/multipath.conf
multipaths {
   multipath {
       # RAC_DATA_Vol1, 100GB
       wwid 3600a098038303652643f4861334f7277
       alias mpath-data-0001
   }
   multipath {
       # RAC_DATA_Vol2, 100GB
       wwid 3600a098038303652643f4861334f7278
       alias mpath-data-0002
   }
   multipath {
       # RAC_DATA_Vol3, 100GB
       wwid 3600a098038303652643f4861334f7279
       alias mpath-data-0003
   }
   multipath {
       # RAC_FRA_Vol1, 100GB
       wwid 3600a098038303652643f4861334f727a
       alias mpath-fra-0001
   }
   multipath {
       # RAC_FRA_Vol2, 100GB
       wwid 3600a098038303652643f4861334f7330
       alias mpath-fra-0002
   }
}
_EOF_
# iscsiadm -m session -P3
...省略...
scsi2 Channel 00 Id 0 Lun: 0
        Attached scsi disk sdb          State: running
scsi2 Channel 00 Id 0 Lun: 1
        Attached scsi disk sdd          State: running
scsi2 Channel 00 Id 0 Lun: 2
        Attached scsi disk sdf          State: running
scsi2 Channel 00 Id 0 Lun: 3
        Attached scsi disk sdh          State: running
scsi2 Channel 00 Id 0 Lun: 4
        Attached scsi disk sdj          State: running
...省略...
# multipath -ll
...省略...
3600a098038303652643f4861334f7277 dm-2 NETAPP  ,LUN C-Mode
size=100G features='4 queue_if_no_path pg_init_retries 50 retain_attached_hw_handle' hwhandler='1 alua' wp=rw
|-+- policy='round-robin 0' prio=50 status=active
| `- 3:0:0:0 sda 8:0   active ready running
`-+- policy='round-robin 0' prio=10 status=enabled
`- 2:0:0:0 sdb 8:16  active ready running
...省略...
multipath.confにエイリアス設定を追加した後、以下のコマンドを実行し、設定を反映します。
# systemctl restart multipathd
以下のコマンドを実行し、Multipathデバイスにエイリアスが適用されていることを確認します。
# multipath -ll
mpath-data-0003 (3600a098038303652643f4861334f7279) dm-6 NETAPP  ,LUN C-Mode
size=100G features='4 queue_if_no_path pg_init_retries 50 retain_attached_hw_handle' hwhandler='1 alua' wp=rw
|-+- policy='round-robin 0' prio=50 status=active
| `- 3:0:0:2 sde 8:64  active ready running
`-+- policy='round-robin 0' prio=10 status=enabled
  `- 2:0:0:2 sdf 8:80  active ready running
mpath-data-0002 (3600a098038303652643f4861334f7278) dm-3 NETAPP  ,LUN C-Mode
size=100G features='4 queue_if_no_path pg_init_retries 50 retain_attached_hw_handle' hwhandler='1 alua' wp=rw
|-+- policy='round-robin 0' prio=50 status=active
| `- 3:0:0:1 sdc 8:32  active ready running
`-+- policy='round-robin 0' prio=10 status=enabled
  `- 2:0:0:1 sdd 8:48  active ready running
mpath-data-0001 (3600a098038303652643f4861334f7277) dm-2 NETAPP  ,LUN C-Mode
size=100G features='4 queue_if_no_path pg_init_retries 50 retain_attached_hw_handle' hwhandler='1 alua' wp=rw
|-+- policy='round-robin 0' prio=50 status=active
| `- 3:0:0:0 sda 8:0   active ready running
`-+- policy='round-robin 0' prio=10 status=enabled
  `- 2:0:0:0 sdb 8:16  active ready running
mpath-fra-0002 (3600a098038303652643f4861334f7330) dm-4 NETAPP  ,LUN C-Mode
size=100G features='4 queue_if_no_path pg_init_retries 50 retain_attached_hw_handle' hwhandler='1 alua' wp=rw
|-+- policy='round-robin 0' prio=50 status=active
| `- 3:0:0:4 sdi 8:128 active ready running
`-+- policy='round-robin 0' prio=10 status=enabled
  `- 2:0:0:4 sdj 8:144 active ready running
mpath-fra-0001 (3600a098038303652643f4861334f727a) dm-5 NETAPP  ,LUN C-Mode
size=100G features='4 queue_if_no_path pg_init_retries 50 retain_attached_hw_handle' hwhandler='1 alua' wp=rw
|-+- policy='round-robin 0' prio=50 status=active
| `- 3:0:0:3 sdg 8:96  active ready running
`-+- policy='round-robin 0' prio=10 status=enabled
  `- 2:0:0:3 sdh 8:112 active ready running
1.7.4. udevの設定
以下のコマンドを実行し、Multipathデバイスの所有権およびI/Oスケジューラを設定するudevエントリを追加します。
# cat << '_EOF_' > /etc/udev/rules.d/12-netapp.rules
KERNEL=="dm-[0-9]*", ENV{DM_UUID}=="mpath-*", OWNER:="grid", GROUP:="asmadmin", MODE:="0660", ATTR{queue/rotational}="0", ATTR{queue/scheduler}="deadline", ATTR{queue/nr_requests}="1024"
_EOF_
以下のコマンドを実行し、udev設定を反映します。
# udevadm control --reload-rules
# udevadm trigger
# ls -l /dev/dm-*
brw-rw---- 1 root disk     252, 0 10月 24 16:38 /dev/dm-0
brw-rw---- 1 root disk     252, 1 10月 24 16:38 /dev/dm-1
brw-rw---- 1 grid asmadmin 252, 2 10月 25 10:43 /dev/dm-2
brw-rw---- 1 grid asmadmin 252, 3 10月 25 10:43 /dev/dm-3
brw-rw---- 1 grid asmadmin 252, 4 10月 25 10:43 /dev/dm-4
brw-rw---- 1 grid asmadmin 252, 5 10月 25 10:43 /dev/dm-5
brw-rw---- 1 grid asmadmin 252, 6 10月 25 10:43 /dev/dm-6
# cat /sys/block/<dm-XX>/queue/nr_requests
1024
# cat /sys/block/<dm-XX>/queue/rotational
0
# cat /sys/block/<dm-XX>/queue/scheduler
noop [deadline] cfq
以上でRAC用サーバーインスタンスのOS設定は、完了です。