カスタムリソースのご利用方法
ここでは、カスタムメーターエージェントを用いてカスタムリソースを作成し、5分毎のロードアベレージをモニタリングで監視する方法について説明します。
カスタムメーターエージェントのご利用方法については、 カスタムメーターエージェントを用いたカスタムメーターのご利用方法 をご参照ください。
カスタムメーターエージェントでカスタムリソースを設定する
作成したいカスタムリソースの名前をリソースIDに指定して、エージェントを起動します。
設定ファイルの設定例
monitoringUrl: Enter the ECL Monitoring API Endpoint URL
# ex. "https://monitoring-jp1-ecl.api.ntt.com/"
monitoringUrl = "https://monitoring-jp1-ecl.api.ntt.com/"

# interval: Specify the time interval to collect and send the value by the agent
# [ 1 - 3599 ] minutes, default: 5
interval = 5

# authUrl: Enter the ECL Keystone API Endpoint URL
# ex. "https://keystone-jp1-ecl.api.ntt.com/"
authUrl = "https://keystone-jp1-ecl.api.ntt.com/"

# authInterval: Specify the time interval to refresh auth token
# [ 5 - 3599 ] min, default: 60
authInterval = 60

# resourceId: Enter the target resource id for custom meter creation
# ex. nova_12ab-12cd56gh9-ab34ef78i-34cd
resourceId = "CustomResource-Tutorial"

# tenantId: Enter your tenant id
tenantId = "<tenantID>"

# userName: Enter your API key
userName = "<API key>""

# password: Enter your API secret key
password = "<API secret key>"""

meters = [
  "loadavg.1.count",
]
カスタムリソースのグラフを見る
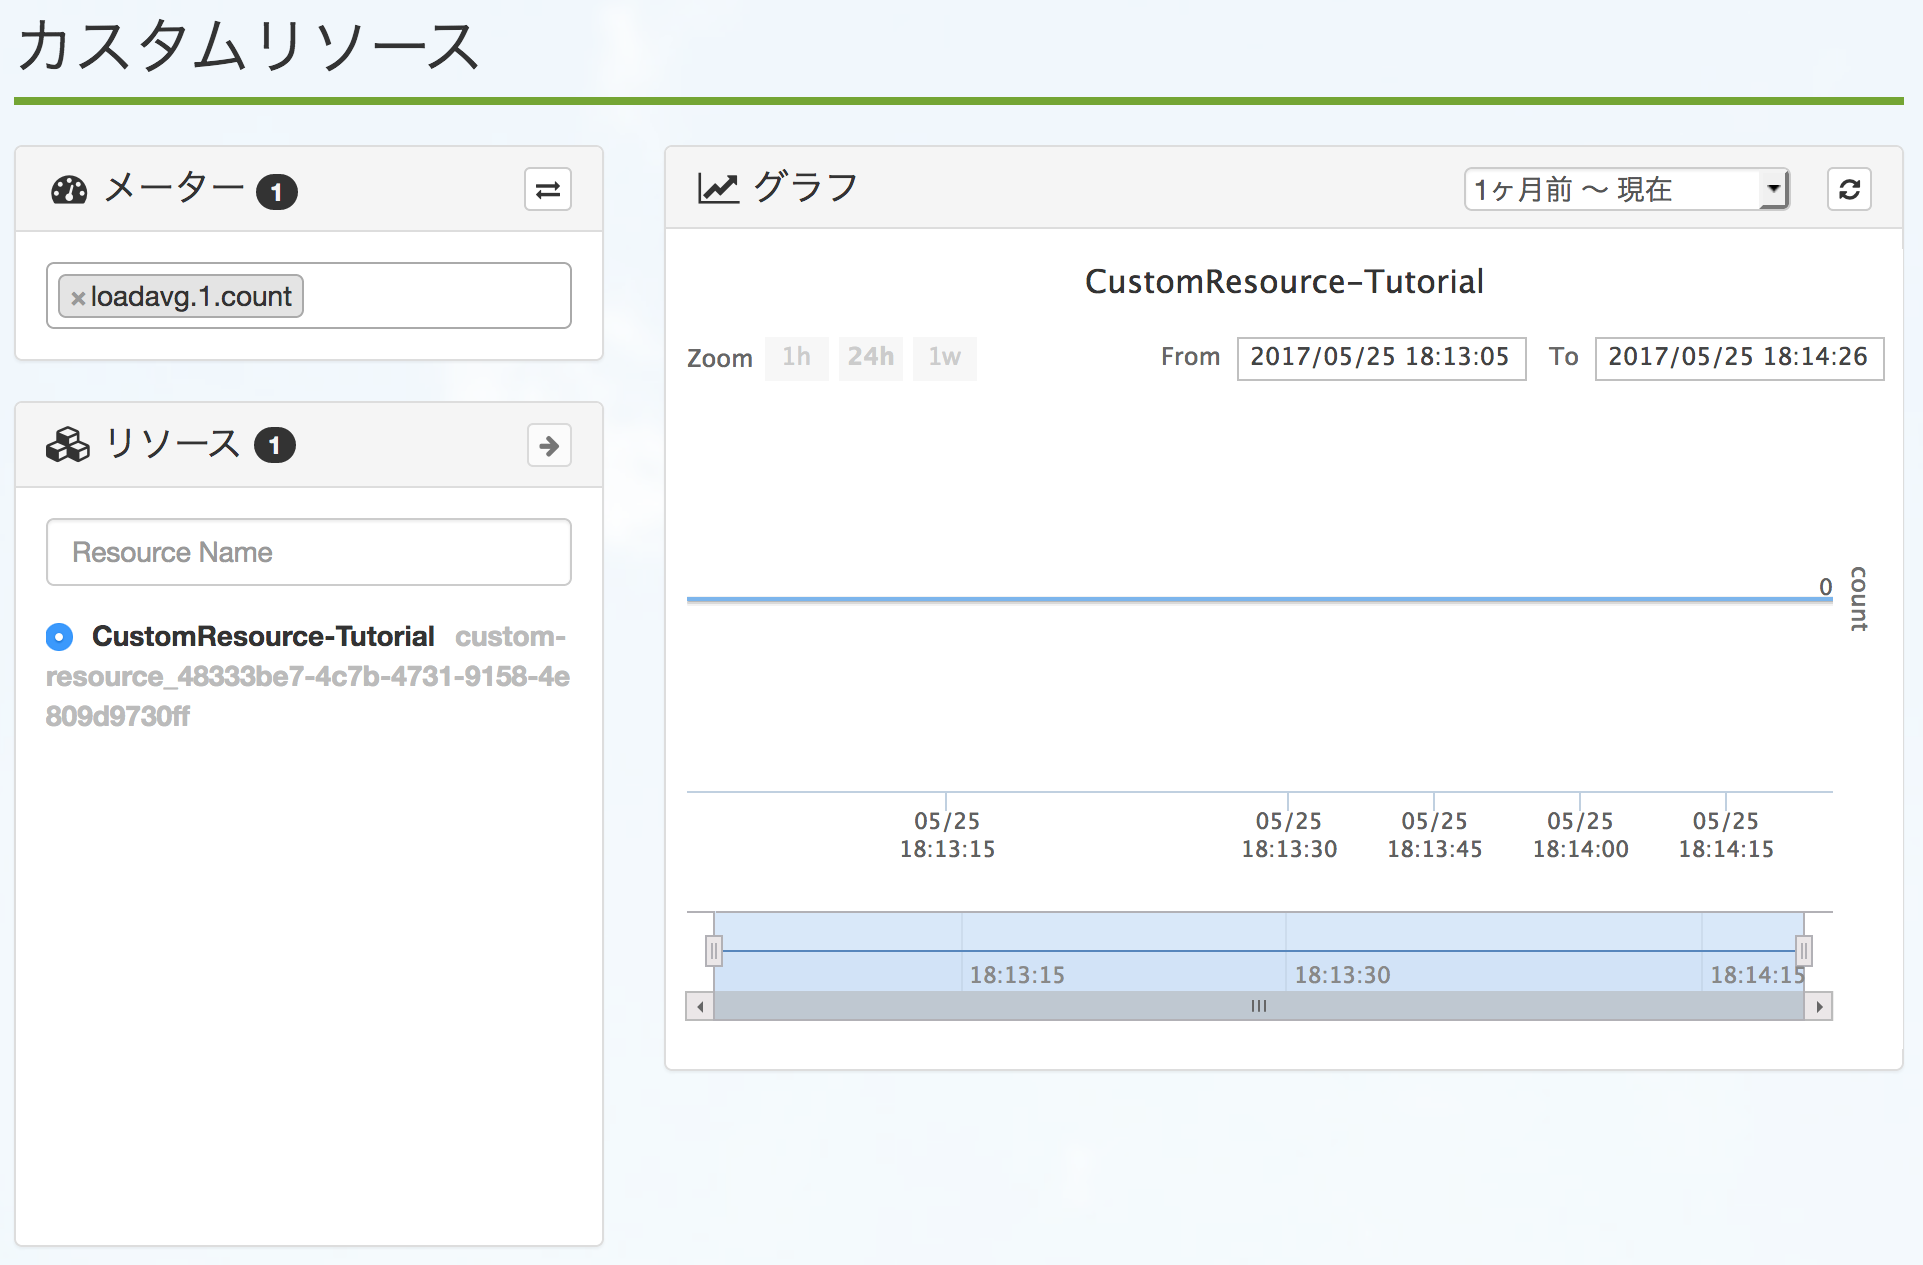
モニタリング画面上で、サービス一覧よりカスタムリソースを選択して下さい。
指定したリソース名のカスタムリソースが作成されており、これを選択していただくことでグラフが表示されます。
カスタムリソースのメーターのアラーム設定
標準のメーターと同様にアラーム設定することができます。
設定方法については、 モニタリングアラームのご利用方法 をご参照ください。